Installation
This section describes the installation process of XIA Configuration Server. For information about the removal of the product see the uninstallation section.
- Download the latest installation package.
- Ensure you have an appropriate license file, or request a trial license.
- Review the roles and features that will be automatically installed.
- Check that the system you are installing on meets the server requirements.
- Check that you have a database server that meets the database requirements.
- Start the installer.
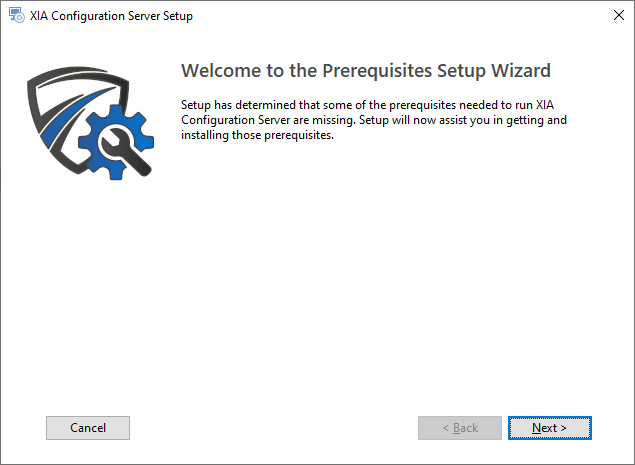
- If the .NET Framework 4.8 is not installed the Prerequisites Setup Wizard will be displayed.
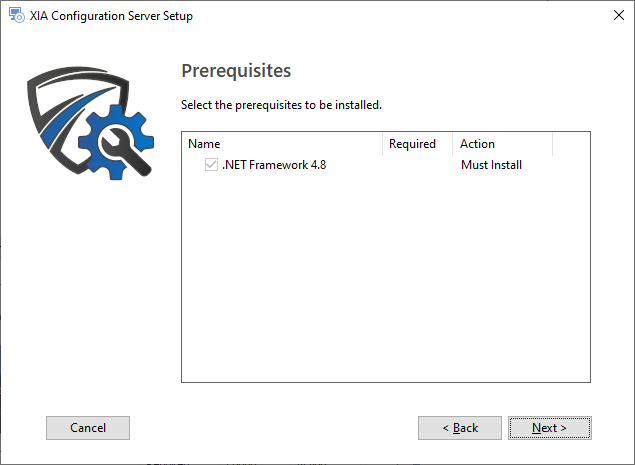
- You will be prompted to install the .NET Framework 4.8 as required.
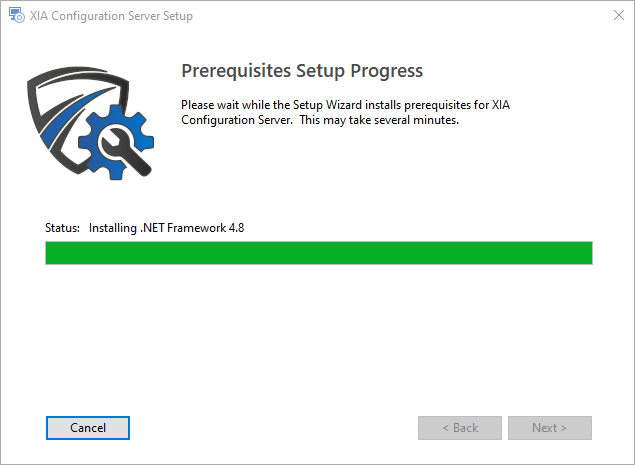
- The .NET Framework 4.8 will be installed and a log file created for the installation.
- You may be required to reboot to continue the installation. The installation will resume automatically after logging in following the reboot.
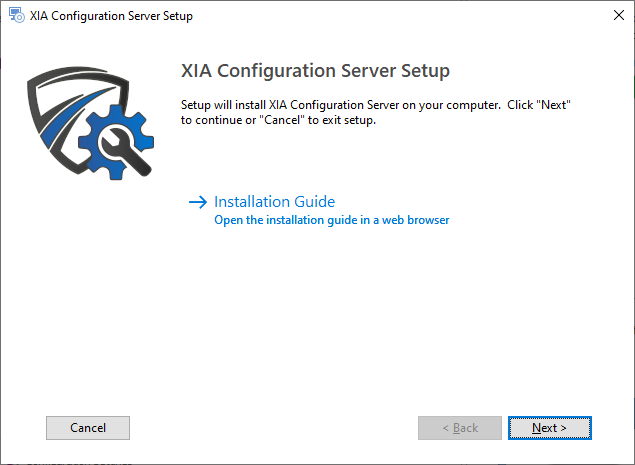
- The main installation screen will then be displayed.
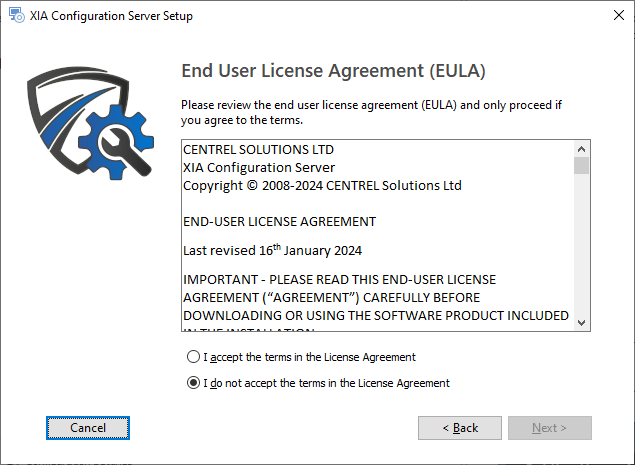
- Review the End User License Agreement (EULA) and only accept if you agree to the terms. If you do not accept the terms of the agreement please cancel the installation.
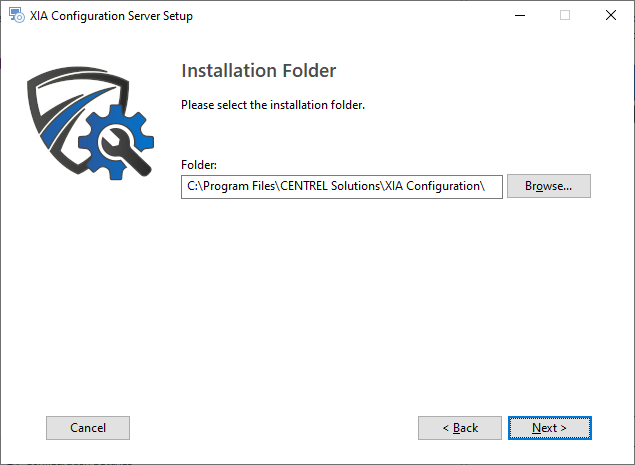
- Select the directory into which XIA Configuration Server should be installed and click Next.
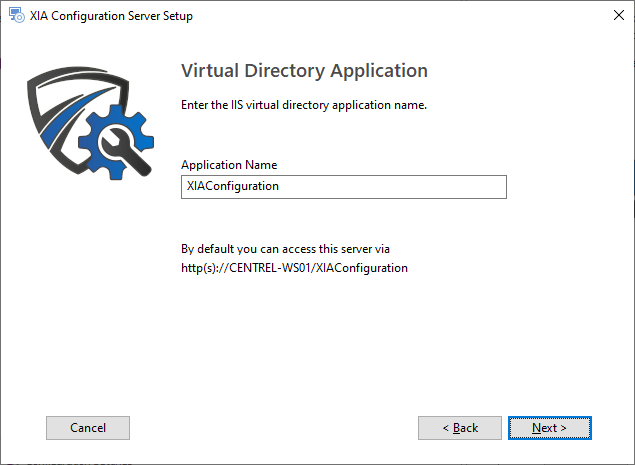
- Enter the application name, this is used to form the URL at which XIA Configuration Server can be accessed and click Next.
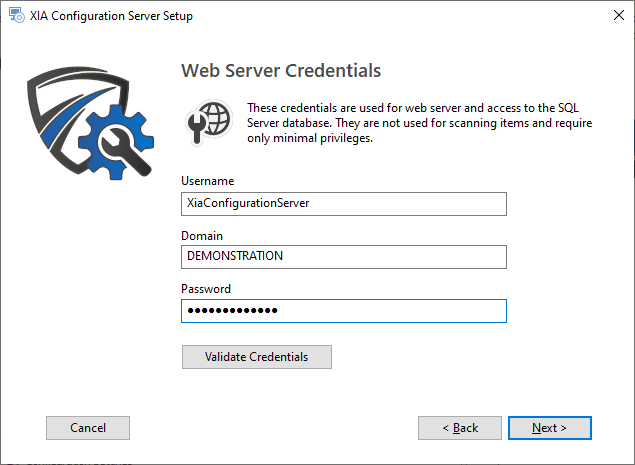
- Determine whether to use the Network Service account as the web server account (recommended) or whether to use a specific account.
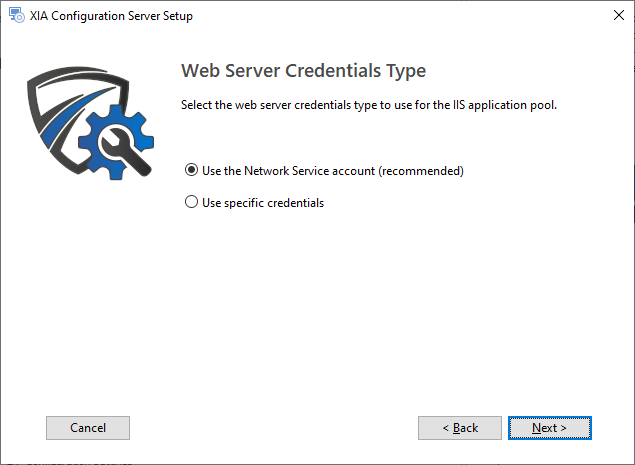
- If Use specific credentials was selected then enter the credentials for the web server account and click Validate Credentials to validate the account, and then click Next.
- Select or enter the instance name of a local or remote Microsoft SQL Server that meets the database requirements.
- Enter the database name and click Validate, and then click Next.
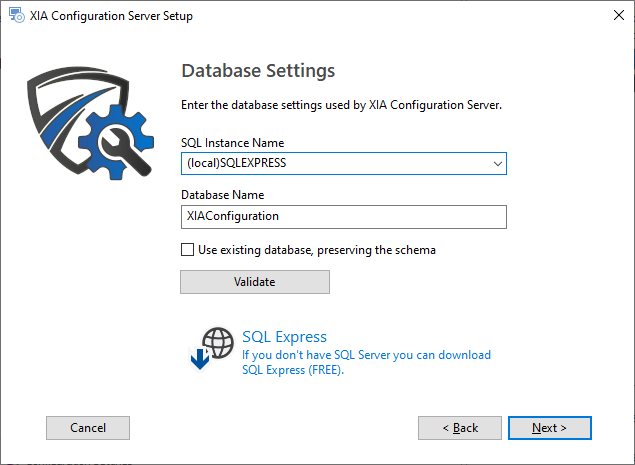
- If you do not have Microsoft SQL Server installed you can download Microsoft SQL Express for free.
- Click Browse to browse for the trial or production license file you have been provided. If you do not have a license you can request a trial license.
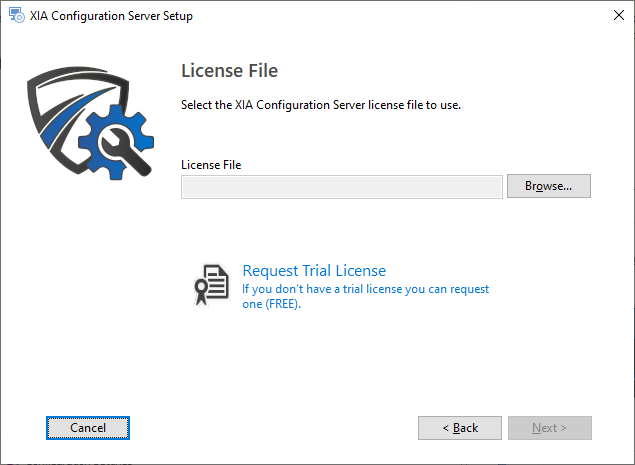
- Select the trial or production license file you have been provided (this must have a .licx extension) and click Open and then click Next.
- Enter the credentials to use for the service account, this is the account that will by default be performing the scans of devices and click Validate.
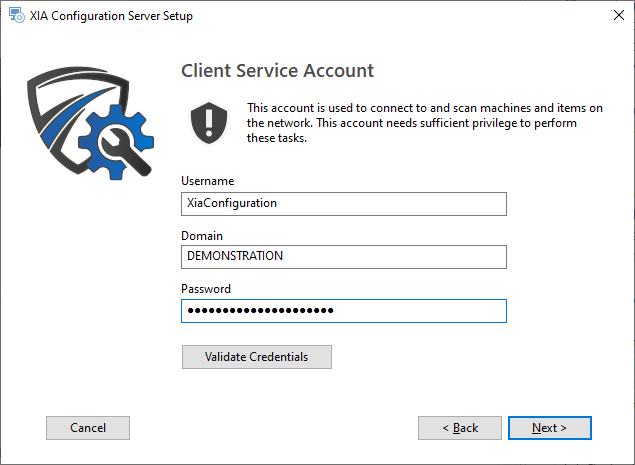
- NOTE: When using a computer on a WORKGROUP enter the computer name in the Domain field.
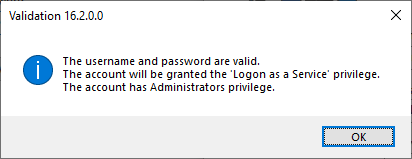
- Confirm that the account has the appropriate permissions and click OK, then click Next.
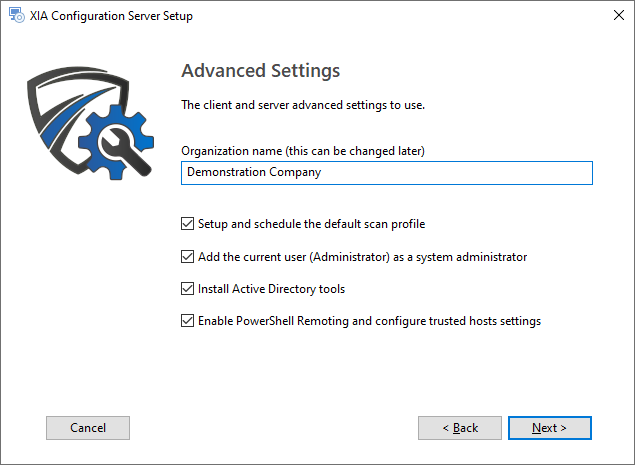
- Determine the appropriate advanced settings and click Next.
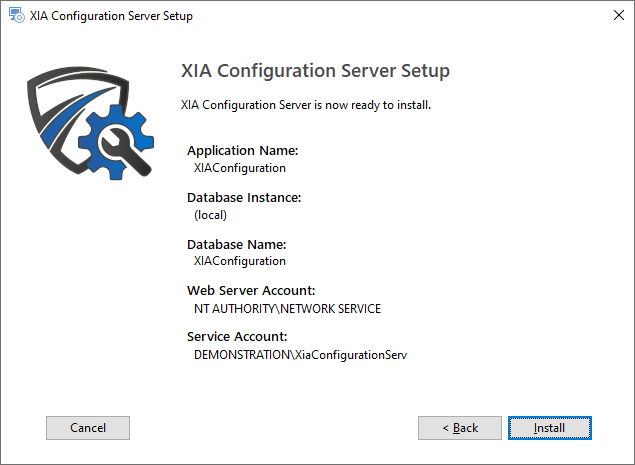
- Click Install to begin the installation.
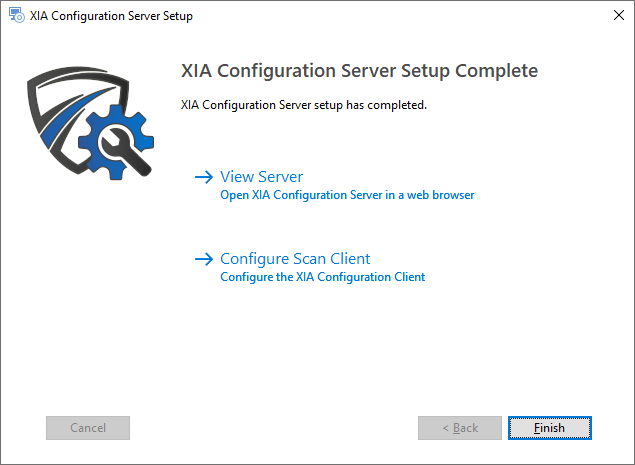
- When the installation is complete you will be prompted to View Server or Configure Scan Client.
- If you experience any issues please see the server installation issues section.
- For more information, view the performing your first scan section.